Showing posts with label easy. Show all posts

Sunday, 4 October 2015

Oat Cookies

I'm coming to you from my bed, full of cold, with a recipe which I came up with for oat cookies!
Oat foods definitely remind me of the cold autumn and winter weather, especially hot porridge on a freezing morning. This recipe is very versatile and you can add any flavourings or extras as you please. Have fun experimenting! 
What you'll need...
- 75g  self raising flour
- 75g porridge oats
- 75g brown sugar
-75g butter
- 1 tbsp honey
- 1 tbsp milk
To start with I set my oven to gas mark 4 and I weighed out the flour, sugar and oats and put them into a mixing bowl.


The next step involves weighing out your 75g of butter, honey and milk and melting it on a low heat in a saucepan.
The melted butter combination then goes into the dry mixture. 
Then combine this all together using a wooden spoon in your mixing bowl.

I found it much less messy using a spoon to shape the cookies before putting them onto a lined baking tray ready to be put in the preheated oven.

I only did this to half of the mixture and then added in some walnut pieces to the remaining mixture in the bowl and combined it together. 


I popped these in the oven for about 15 minutes because they were quite large. If you make them slightly smaller, they probably won't take as long and vise versa. I knew that these were done because they had become partly golden brown, hardened a little and expanded slightly.
I recommend leaving these to cool for a while so that they become set and less flimsy.

I hope you enjoyed this post, look out for more in the future! :) 

Becky x

Sunday, 29 March 2015

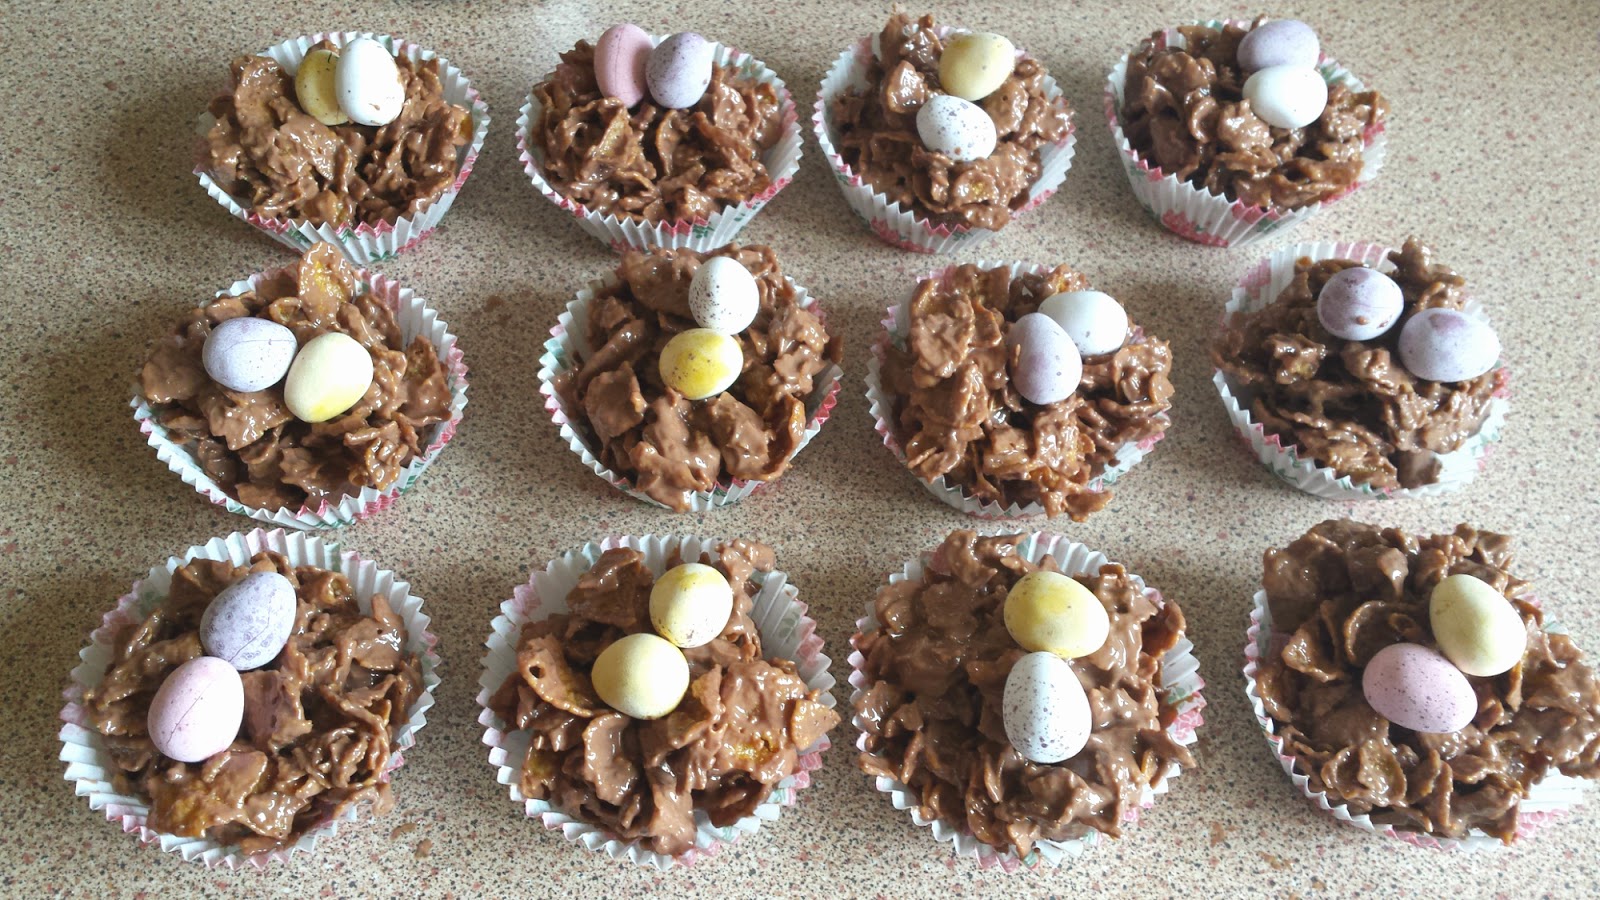
Baking with the Boyfriend: Easter Cornflake Cakes

Whenever I'm bored I love to go into the kitchen and bake something. I find it relaxing and a distraction from school work. Not only is it something I do by myself, but also with my boyfriend as a time to bond and have fun when bored. We often bake cookies, pancakes and other delightful treats and recently we made some cornflake cakes which are basic, family friendly and perfect for Easter. 


To Make These, We Used The Following Ingredients:

390g bar of chocolate
    A box of cornflakes (we used crunchy nut) - you could also change this up and use some rice krispies instead
A bag of mini eggs


To start with we broke the chocolate bar into chunks and put them into a heatproof bowl over a saucepan of simmering water. I then stirred the chocolate every once in a while until all the chocolate was melted.


Once the chocolate was all melted, we added the cornflakes and mixed until all the flakes were coated.


We then spooned the mixture into the cake cases using a big spoon to carry the mixture and a little spoon to scrape it off.


After that we just popped two mini eggs on top of each cake.


Finally we put the yummy treats into the fridge until the chocolate had hardened.


I hoped you enjoyed this post and be sure to stick around for more in the future! :) 
Becky x

Sunday, 18 January 2015

Ciaté Nails

Last week I decided to test out the ciaté caviar manicure. These nails are perfect for a night out as they go with anything and also have a bit of added sparkle to them. However this nail look isn't very hardwearing and when I wore these, they only lasted for around a day until the sparkly balls began to fall off and didn't glisten as much. 
To start with I applied 3 coats of the shooting star ciaté nail polish which is a very simple but nice nude. I love this colour because it's not tremendously obvious if one of your nail chips, so therefore you can go quite a long time wearing this polish before you have to paint your nails again. I personally prefer this plain look to the one with the pearls. 
After applying a couple of coats, I waited for them to completely dry before this next step. So to achieve the caviar look you need to add a final layer of polish and then you have to be rather quick. This is because you have to sprinkle the beads over the nail whilst it's still wet with paint otherwise the pearls will not stick. To make sure they are securely stuck to the nail, press lightly on top of them and once the polish underneath is dry, add a clear top coat to lock the beads in place. Also, it's a good idea to put a box or tub underneath your nail whilst doing this step so that any unused beads are collected and afterwards you can pour them back into the bottle. This way you don't waste any pearls. Overall these nails are very quick and easy and perfect for the times when you're running late and your nails need a quick fix. 
I hope you enjoyed this first ever post of mine and be sure to visit again, thank you very much x